Managing your dashboard
Use your dashboard to gather information about various aspects of your account
Your dashboard is the first thing you see when you log in to Tarvent. The purpose is to give you a bird's eye view of what is important to you about your account. You can change the dashboard layout as you see fit.
What we'll cover
- The Tarvent map
- What is a widget
- Refresh widget data
- Moving widgets
- Adding new widgets
- Removing widgets
1 The Tarvent map
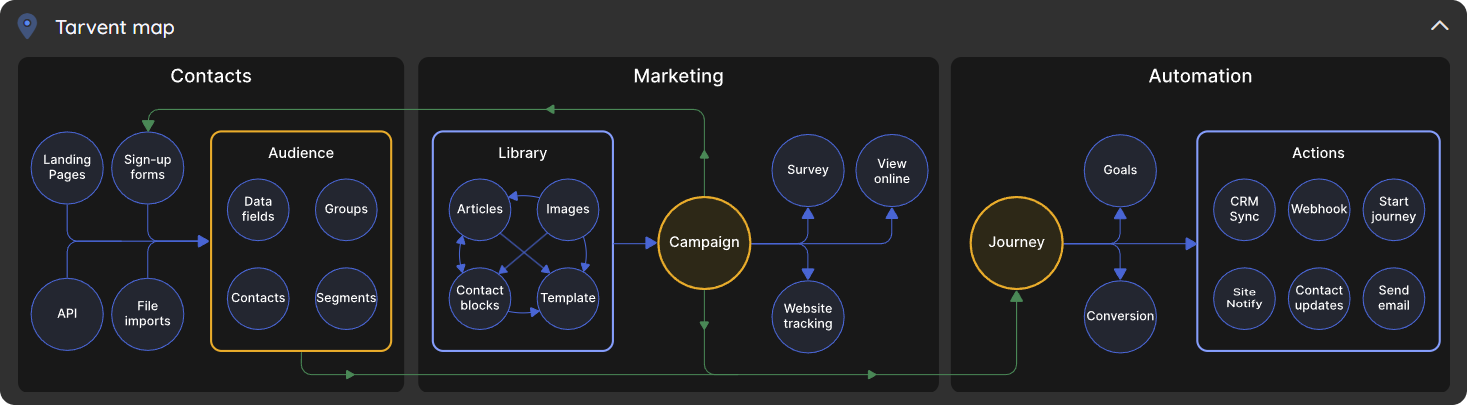
The map provides an overall understanding of how data and processes flow within Tarvent. You can hover over each item in the map to get a better understanding of what that entity type is. For example, landing pages, sign-up forms, file imports, and the API are all used to add contacts to your audience.
Pro Tip: You can also use the map to navigate by clicking on one of the items, like Campaign.
2 What is a widget
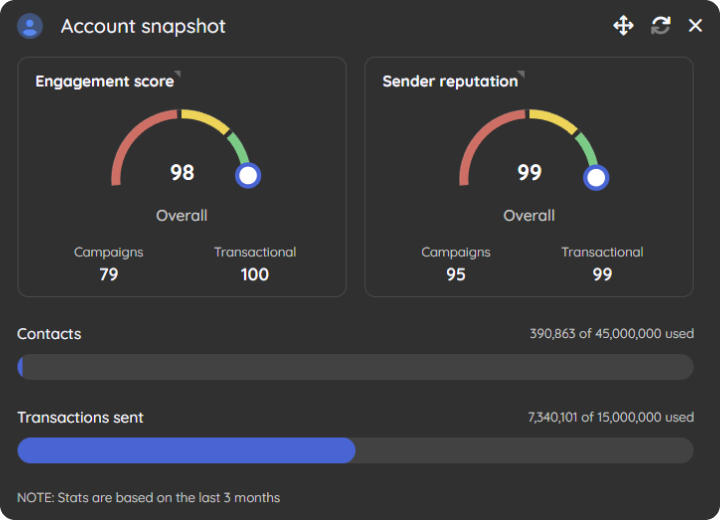
Widgets are movable sections on the dashboard that provide real-time information about the topic of the widget.
For example, the Account Snapshot widget provides your real-time engagement score, sender reputation, contact count, and transaction count. The counts are provided as that is what will affect your billing and we never want surprises on your invoice.
3 Refreshing widget data
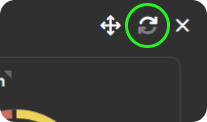
While it may be nice to have real-time updates to the widgets, we purposely avoided this to reduce data costs, which in turn reduces what we must charge you to use the service. However, you can always refresh the widget by using the refresh button at the top right.
4 Moving widgets
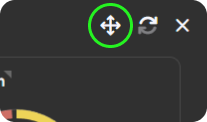
Moving widgets is as easy as using the move icon to drag the widget to a new location within the dashboard. The dashboard is a little particular, depending on the size of the widget. However, it will show you where the widget will land when you release your move from dragging the widget.
Note: Your dashboard is automatically saved with any changed you make so the next time you log in, the dashboard will appear as you left it.
5 Adding new widgets
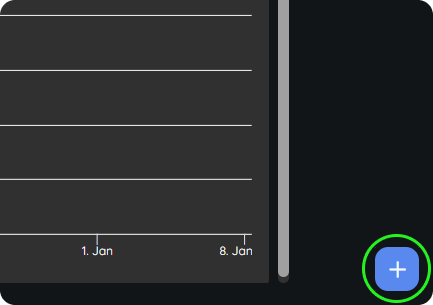
Adding a widget is as simple as clicking the add button and selecting the widget you want to add. Once added, the same widget will not appear on the add screen until you remove it from the dashboard.
Note: New widgets will be added based on feedback from customers like you. Let us know if there is a widget you would like added.
6 Removing a widget
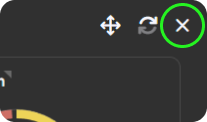
Remove a widget by clicking the X in the top right corner. Once removed, you can easily add the widget back in by adding a new widget.