Manage settings
Learn how to manage and update audience settings.
What we'll cover
- Renaming an audience
- Manage subscription confirmation (double opt-in)
- Manage data field categories
- Configure GDPR settings
- Configure campaign defaults
- Configure campaign footer information
1 Renaming an audience
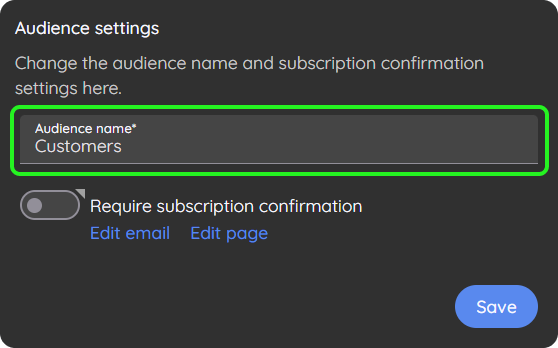
Here are the steps:
- Enter the new name in the "Audience name" textbox
- Click save at the bottom right of the "Audience settings" card.
Pro tip: Optionally, you can click the audience name at the top left of the page to rename it.
2 Manage subscription confirmation (double opt-in)
By default, subscriber confirmations (aka double opt-in) are disabled. Since this feature requires the contact to click a link within their email before being subscribed, most marketers turn it off. However, consider turning it on if you notice increased unsubscribes or spam complaints.
When enabled, subscribed contacts are set to the "Pending" status. Only after the contact clicks the link within the confirmation email will their status be changed to "Subscribed." Please note that this will affect contacts manually added to the platform or when submitting a subscription form. Subscription confirmations do not apply to imported contacts.
Additionally, pending contacts will not be included in future campaigns.
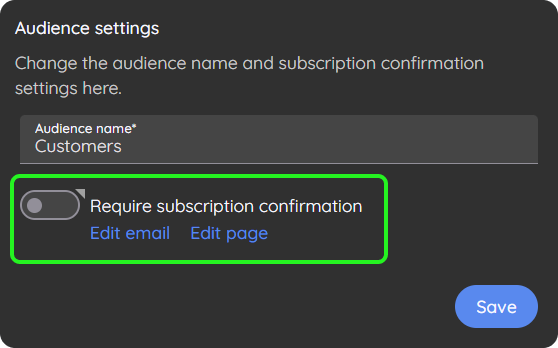
To enable subscription confirmation, toggle the "Require subscription confirmation" switch and click Save.
To edit the confirmation email, click "Edit email." An email editor will open to allow you to edit the email each contact receives. Click Save at the top left of the editor to save your changes. To return to your audience settings, click the "X" at the top left of the page.
To edit the page the contact will see after they click the link in the confirmation email, click "Edit page." A page editor will open to allow you to edit the confirmation page. Click Save at the top left of the editor. To return to your audience settings, click the "X" at the top left of the page.
3 Manage data field categories
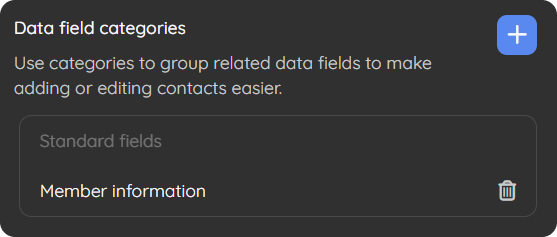
Organize your contact data entry screens (add and edit) by grouping data fields in a way that makes sense. Using data field categories, you can group related data fields and control the display order of the categories and data fields.
To add a data field category, click the add button in the "Data field categories" card, enter a name, and click Add.
To manage the data fields in a category, click the category, then use the drag-and-drop to add/remove the data fields you would like, and click Save.
To rename a category, click the category, enter the new name, and click Save.
To delete a category, click the trash icon to the right of the category name, confirm the delete request, and click Delete.4 Configure GDPR settings
GDPR (General Data Protection Regulation) is a European Union regulation regarding information privacy. Suppose you are sending to any contacts that live in Europe. In that case, you should obtain legal counsel to ensure you abide by these regulations.
To adhere to these regulations, Tarvent offers some GDPR-related settings to help your contacts understand how their data is used and to get their permission to send them marketing emails.
The settings are also helpful in abiding by other privacy laws such as CCPA (California Consumer Privacy Act).
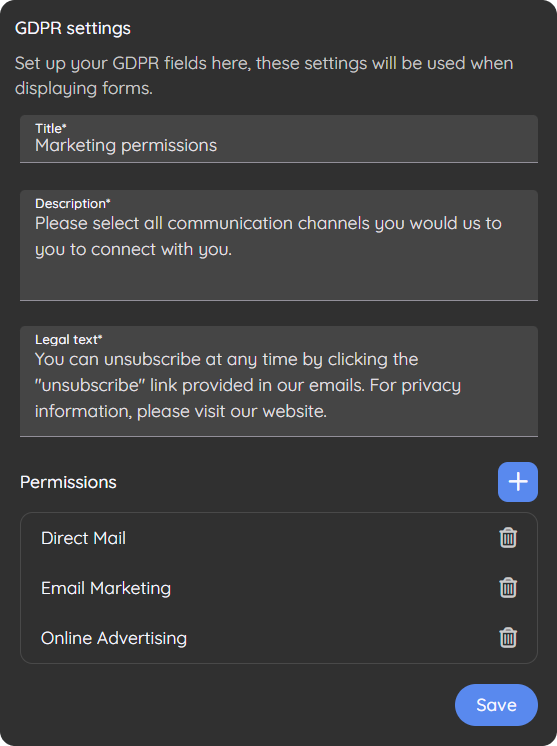
Once configured, these settings control how the particular GDPR question type is displayed within sign-up and profile update forms.
To modify the title, description, or legal text, enter the values you would like in the text boxes and click Save.
To add a GDPR permission, click the add button in the "GDPR settings" card, enter a permission name, and click Add.
To delete a GDPR permission, click the trash icon to the right of the permission name, fill out the delete confirmation, and click Delete.
5 Configure campaign defaults

When creating a campaign for your audience, campaign defaults decrease your campaign editing time.
The "from" name provides a friendly name to the recipient of your email.
The "from" email shows the email address from which the email was sent. There are two parts to the "from" email. The email username (aka local part) is on the left of the "@" symbol. The domain is on the right side of the "@" symbol.
Pro tip: Use a subdomain! We'll explain. Let's say your domain is breckwerx.com. Your corporate email probably uses breckwerx.com for email. In other words, you might have emails like John@Breckwerx.com or Lindsey@Breckwerx.com. Instead of breckwerx.com for marketing emails, which may run into blocks occasionally that will affect your regular email (we try never to let that happen), you can use something like email.breckwerx.com or lovethis.breckwerx.com (be creative). The "email" or "lovethis" is the subdomain. We'll give you all the details when configuring a sending domain in Tarvent.
To modify the "from" name, enter the name and click Save.
To modify the "from" email, enter the email username you would like, select the domain, and click Save.
Note: The "from" domain options will only include verified domains. To add or verify a "from" domain, navigate to the domains area in your account settings.
6 Configure campaign footer information
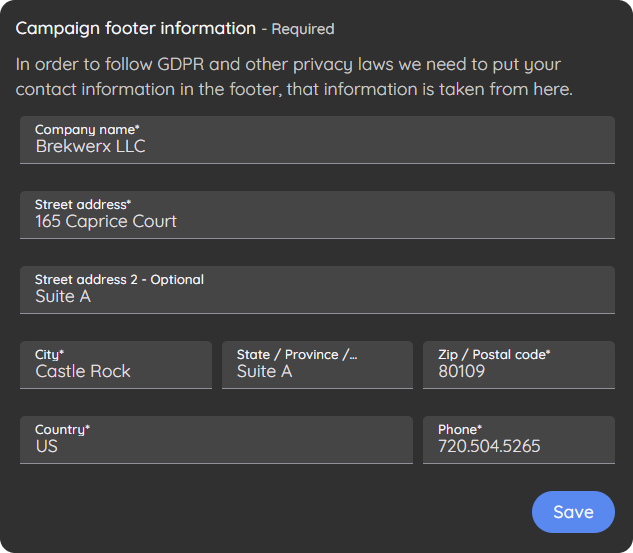
The campaign footer information is used for the "footer" element within the Campaign editor. The information is also used for any account address merge tag in campaign content. The "footer" editor element and address merge tags will pull the data from these fields.
To modify the footer information, enter your information and click Save.