
How to add a merge tag
Merge tags pull a contact's own data into your content, so one campaign can greet everybody by name. This article covers adding one to a text element, to a subject line, and inside a link.
What this article covers
1 In a text element
A text element is the Content, Text or Footer element in the editors.
- In the drag-and-drop editor, select a content, text or footer element.
- In the toolbar, click the insert merge tag icon.
- In the dialog, select which data location you want a merge tag for.
- Pick your data field. This is the data that merges into the content.
- Optionally, select a function to format the data.
- Click Add.
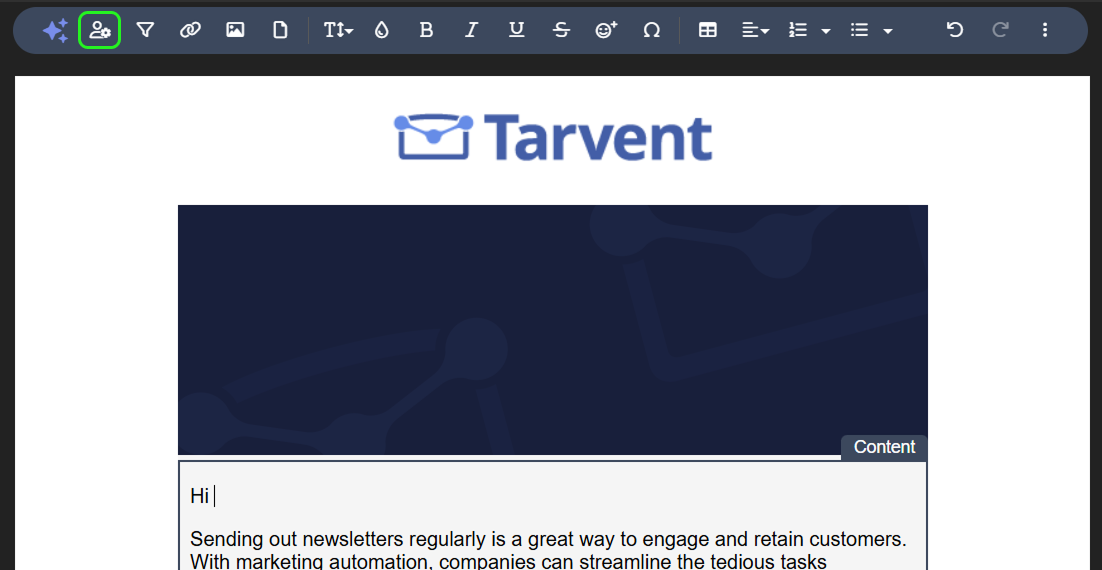
Note: In a code-your-own or plain text email there are no elements to select, so skip the first step and work directly in the content.
The data locations you can choose
| Location | What it holds |
|---|---|
| Account | Account data such as company name and address. |
| Contact | Contact data such as email, first name, and all your custom data fields. The most commonly used. |
| Campaign | Campaign data such as name and subject line. |
| Miscellaneous | Values such as the current year, day or month. |
2 In a subject line
These steps work in any textbox, not only the subject line.
- In the email editor, click From & Subject.
- Find the subject line textbox and click the insert merge tag icon.
- Follow steps 3 to 6 from In a text element above.

3 Inside a link
- In the email editor, select a link and click the link icon in the toolbar.
- In the link textbox, click the insert merge tag icon.
- Follow steps 3 to 6 from In a text element above.
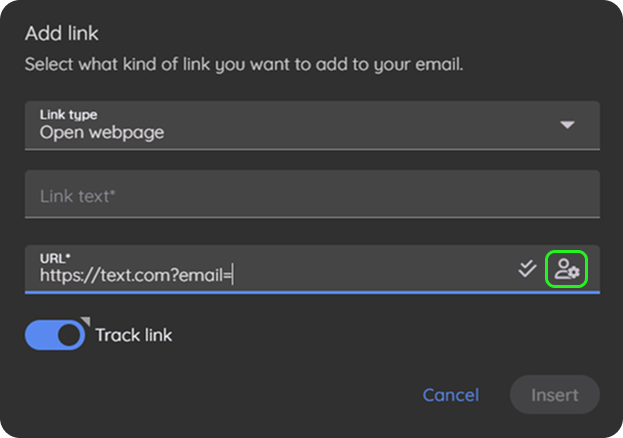
Note: Functions, also known as data formatters, are not allowed in a merge tag inside a link.
Tips
- Functions are an easy way to format data as it merges, without reimporting it in a different shape. See the merge tag introduction for what is available.
- Send yourself a test to see the merged result in a real inbox. See Testing a campaign.