Importing contacts via file upload
Learn how to import contacts using a file upload or pasting in text.
What we'll cover
1 Concepts
Importing multiple files into a single audience
Sometimes, you may have contact information in various systems or data files. If so, you can always import multiple data files into the same audience. Tarvent will handle duplicate contacts effortlessly and merge all contact profile information from your various files into the respective contact's profile.
Supported file formats
Tarvent supports .txt (text file), Microsoft Excel (.xls, .xlsx), and .csv (comma-separated value).
Data column delimiters supported
Use a tab, comma, pipe (|), or semi-colon to separate the data for each column in your data file. For example, when using a pipe, each row would look something like this:
Jason|Hawley|JHawley@MyDomain.com
Warning: If a value in the import file contains the delimiter, then quotes need to surround the value. For example, suppose the comma delimiter is selected, and one of the values in the file is 12,345. In that case, the value must be "12,345" to be treated as a single value.
Pro-tip: We suggest using a tab-delimited text file due to potential issues using a comma-delimited text file.
Date and date-time values
When importing date and date-time values mapped to data fields using the date or date-time data type, the format must be YYYY/MM/DD for date fields and YYYY/MM/DD HH:MM for date-time fields.
Country values
When importing country values mapped to data fields using the country data type, the format must be is the ISO-3166 2-digit country code format. (e.g. "US" for United States)
Update existing contacts
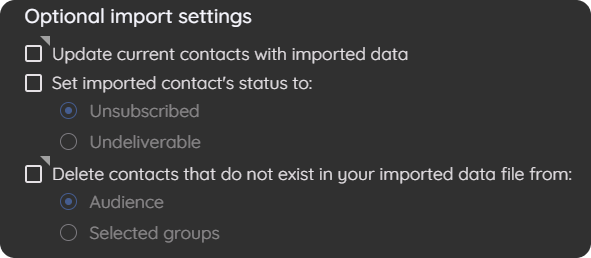
To update your existing contacts with the imported data, check the "Update current contacts with imported data" checkbox on the field mapping screen. If left unchecked, any contacts in your data file already existing in your audience will be skipped. When checked, this option will slow down the import. Please note that updating contacts does not change their status or ranking.
Mark all imported contacts as unsubscribed or undeliverable
To update the imported contacts' status to "unsubscribed" or "undeliverable," check the "Set imported contact's status to:" checkbox and select the desired status for the imported contacts. This feature is useful when using an external system to manage the unsubscribe process.
Delete all contacts not found in your data file.
When managing contacts externally, your data file is typically the "master list" of all contacts. In this case, you can import and delete all contacts from your audience that do not exist in your data file, thus making Tarvent match your data file. Check the "Delete contacts that do not exist in your imported data file from:" checkbox and select whether you want to delete them from the audience or just specific groups. Please ensure you choose the correct option, as all deletes are permanent.
2 How to import contacts
Here are the steps:
- Go to the imports page of the audience to which you would like to import contacts.
- Click the + button.
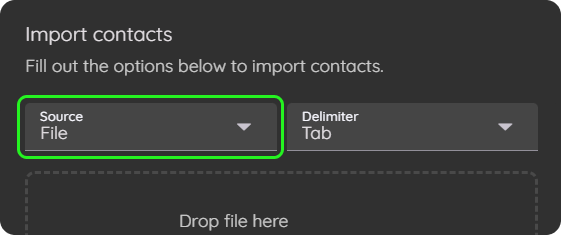
- Select "file" for the source. If pasting data you copied from a file, select "Pasted text."
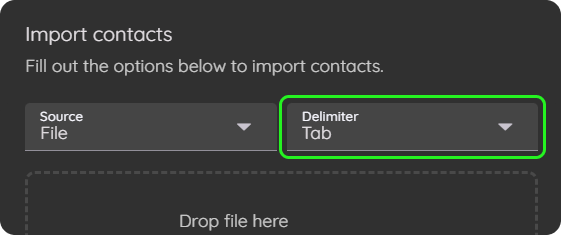
- Select the delimiter.
- Drag your fileto the drop zone or click the drop zone to select a file from your computer. If pasting text, do so in the area provided.
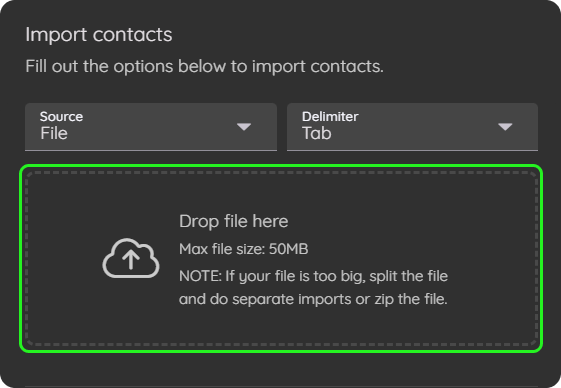
Note: If your file is larger than 50MB, you can zip your file before importing it or split the file into multiple smaller files. If you break your file into multiple files, you can use the email from this import to email your other files since they share the same import settings. Refer to Importing contacts via email for more information
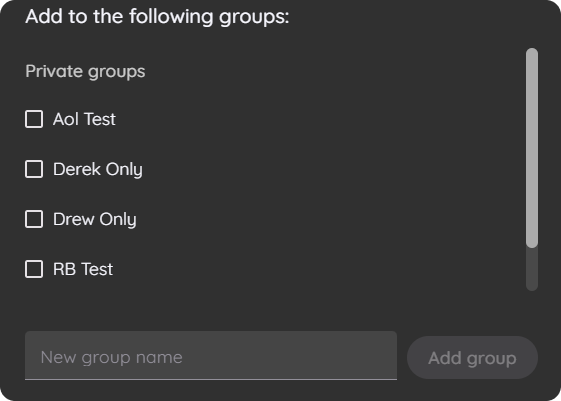
- Select the groups imported contacts will be added to. Please note this is optional.
- Click next.
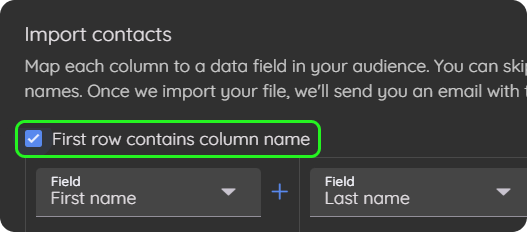
- Check the box if the first row of your data file contains the column names.
- Map each column of your data file to data fields. You can optionally skip a column if you don't want to import the data or add a new field if needed.
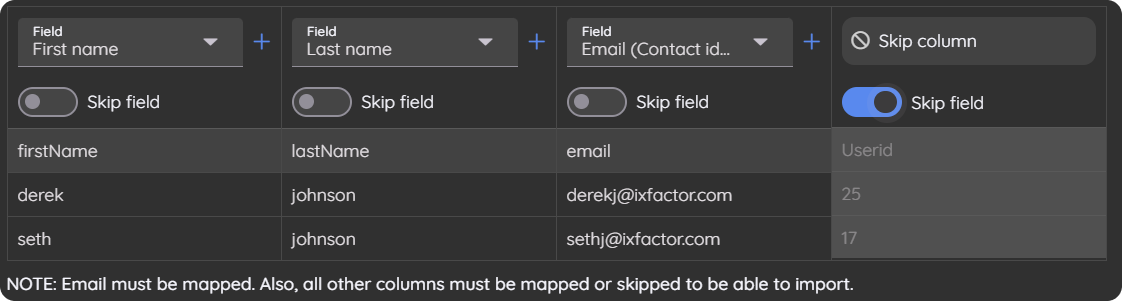
Note: You must map all required data fields to data columns. All non-required data columns must be mapped or skipped.
- Configure the import settings. To learn more about each setting, please see the concepts section above.
- Click the Import button.
Pro-tip: If you consistently import files using the same format, column order, and settings, check out Importing contacts via email to see how to do the import quicker and easier.