
How to add an unsubscribe link
Every campaign needs a way for a contact to stop hearing from you. Tarvent gives you two: a quick unsubscribe, which takes one click to confirm, and a link to an unsubscribe form, where the contact chooses what they want instead.
What this article covers
Note: Because of stricter policies from mailbox providers and ISPs such as Gmail, Yahoo and Microsoft, Tarvent requires every email to carry an unsubscribe link.
1 Add a quick unsubscribe link
Quick unsubscribe does not use a form. The contact clicks the link and lands on a page with a single button to confirm their subscription change.
- In the drag-and-drop editor, select a text or content element.
- Highlight the text you want to link, or place the cursor where the link should go.
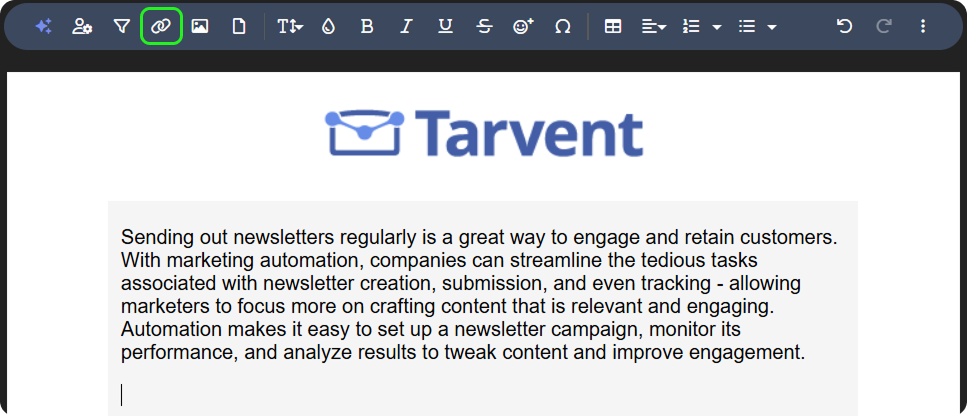
- Click the link icon in the toolbar.
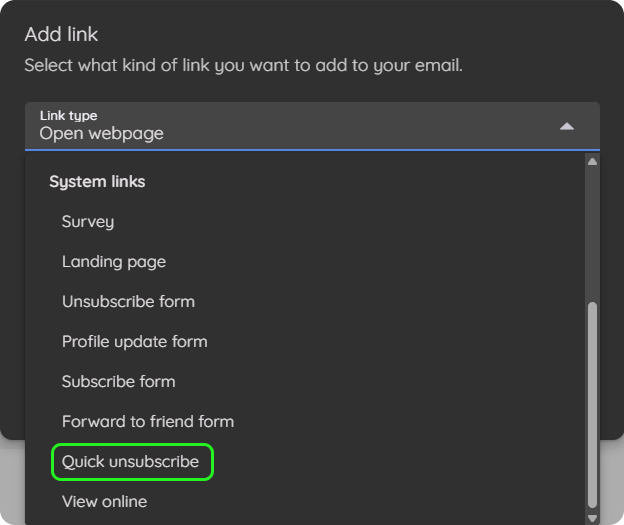
- In the dialog, select Quick unsubscribe.
- Specify your link text.
- Click Insert.
2 Add a link to an unsubscribe form
An unsubscribe form gives the contact a page where they choose what changes, rather than the single confirmation button of a quick unsubscribe. Use it when you would rather offer options than lose the contact outright.
- In the drag-and-drop editor, select a text or content element.
- Highlight the text you want to link, or place the cursor where the link should go.
- Click the link icon in the toolbar.
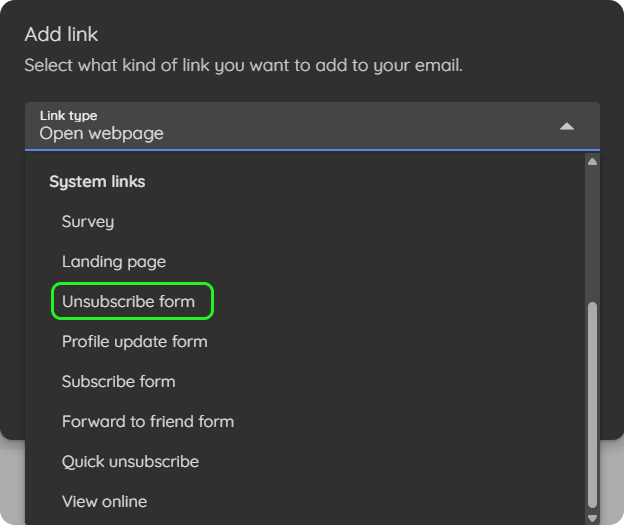
- In the dialog, select Unsubscribe form.
- Select your unsubscribe form.
- Specify your link text.
- Click Insert.
Note: This option does not appear in the template editor, because a template is not tied to a particular audience. In a campaign or a journey email, only unsubscribe forms belonging to that same audience are offered.
Tips
- In a code-your-own or plain text email there are no elements to select, so skip the first step of either set and work directly in the content.
- To edit a link, highlight it or place the cursor in it, then click the link icon again.
- The Footer element already contains a quick unsubscribe link.
- For other kinds of link, see How to add a link.